
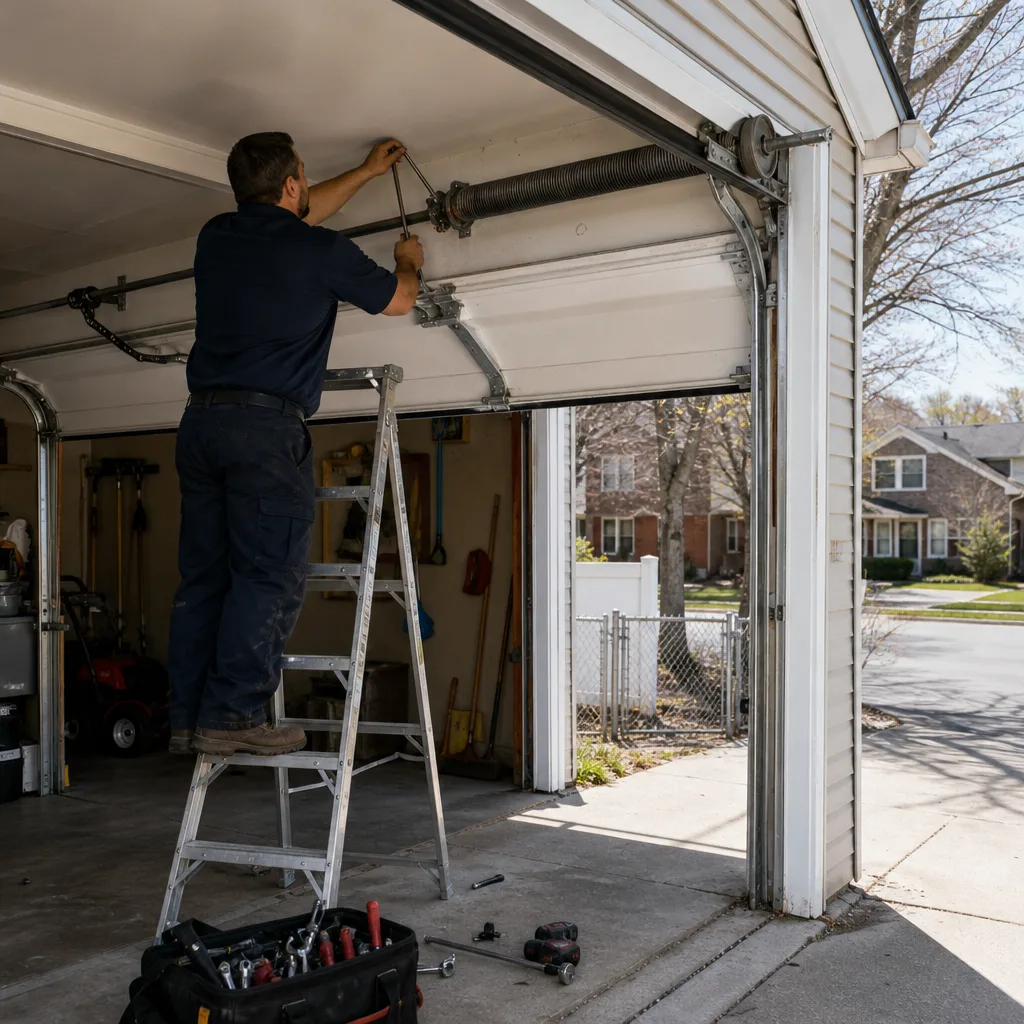
Last updated November 21, 2026
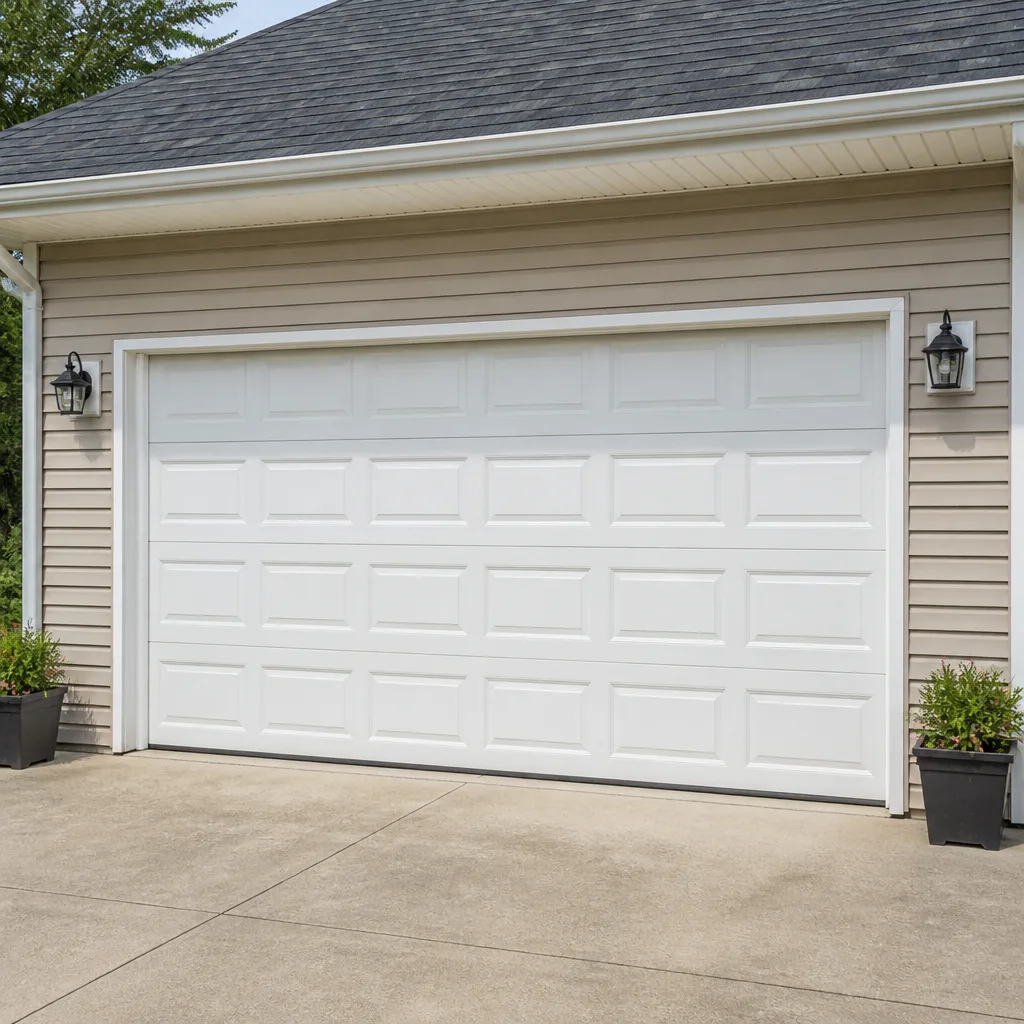 Raised-panel steel
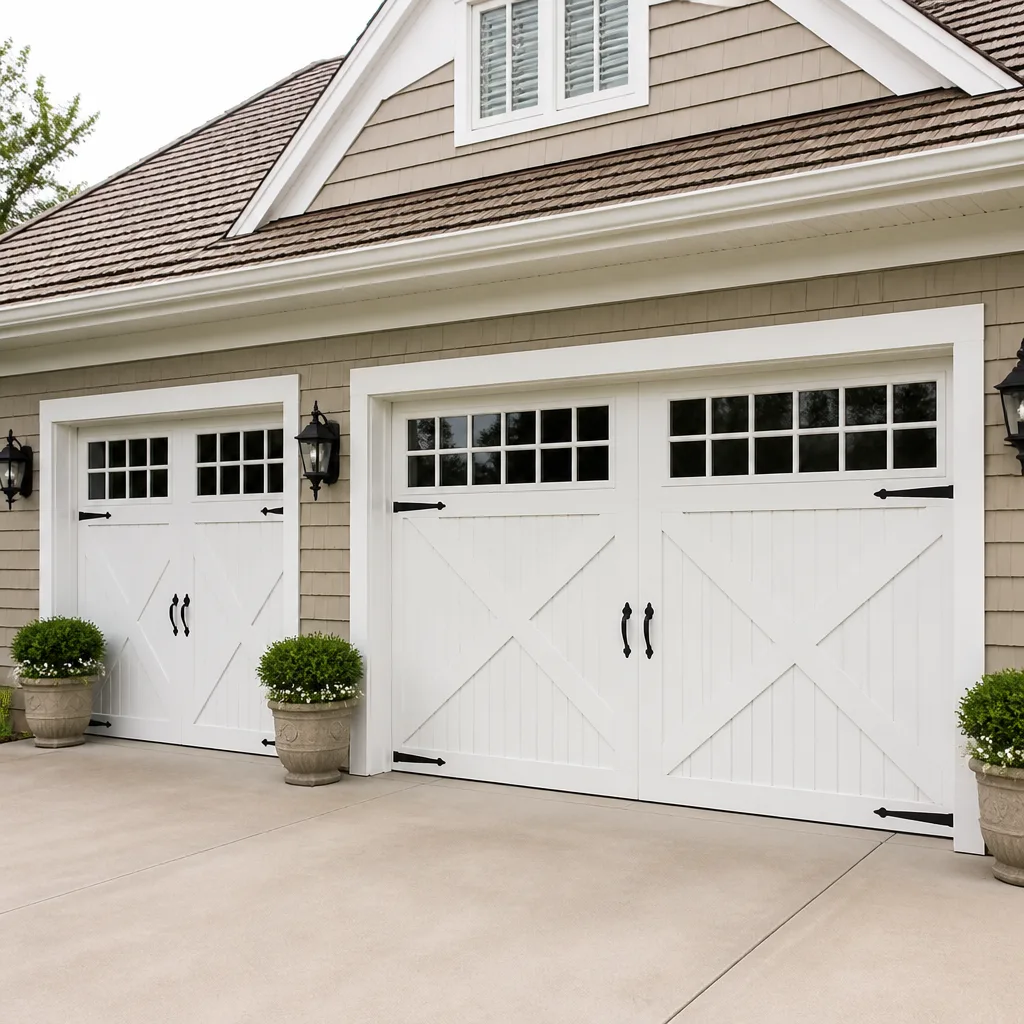 Carriage house
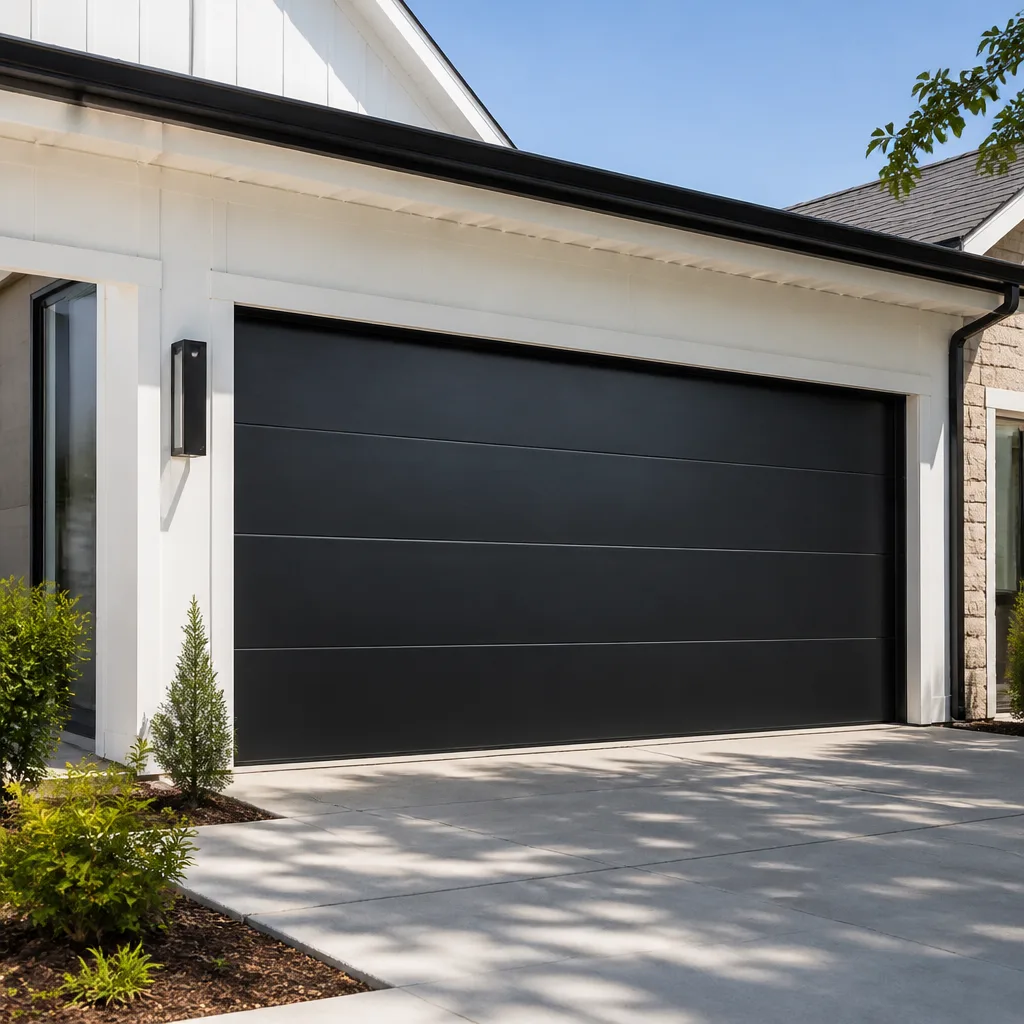 Modern flush
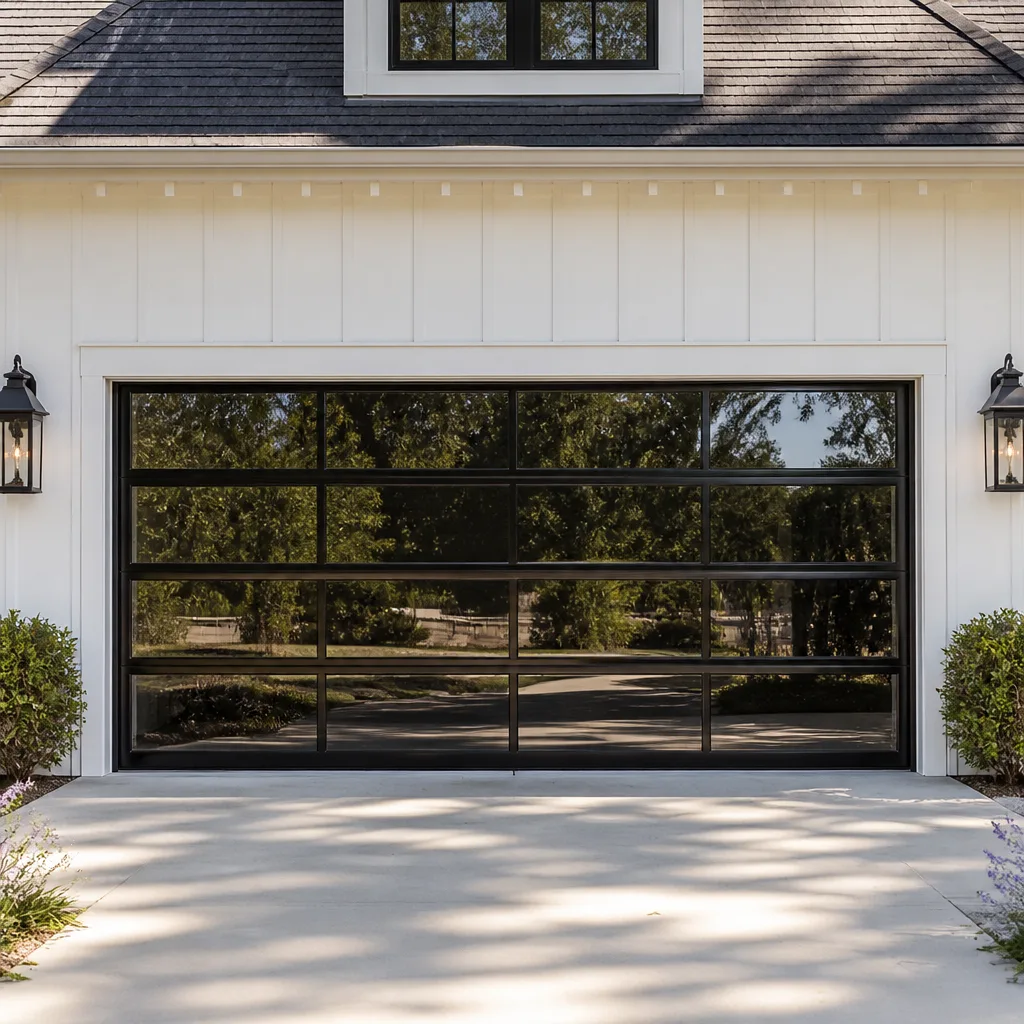 Full-view glass
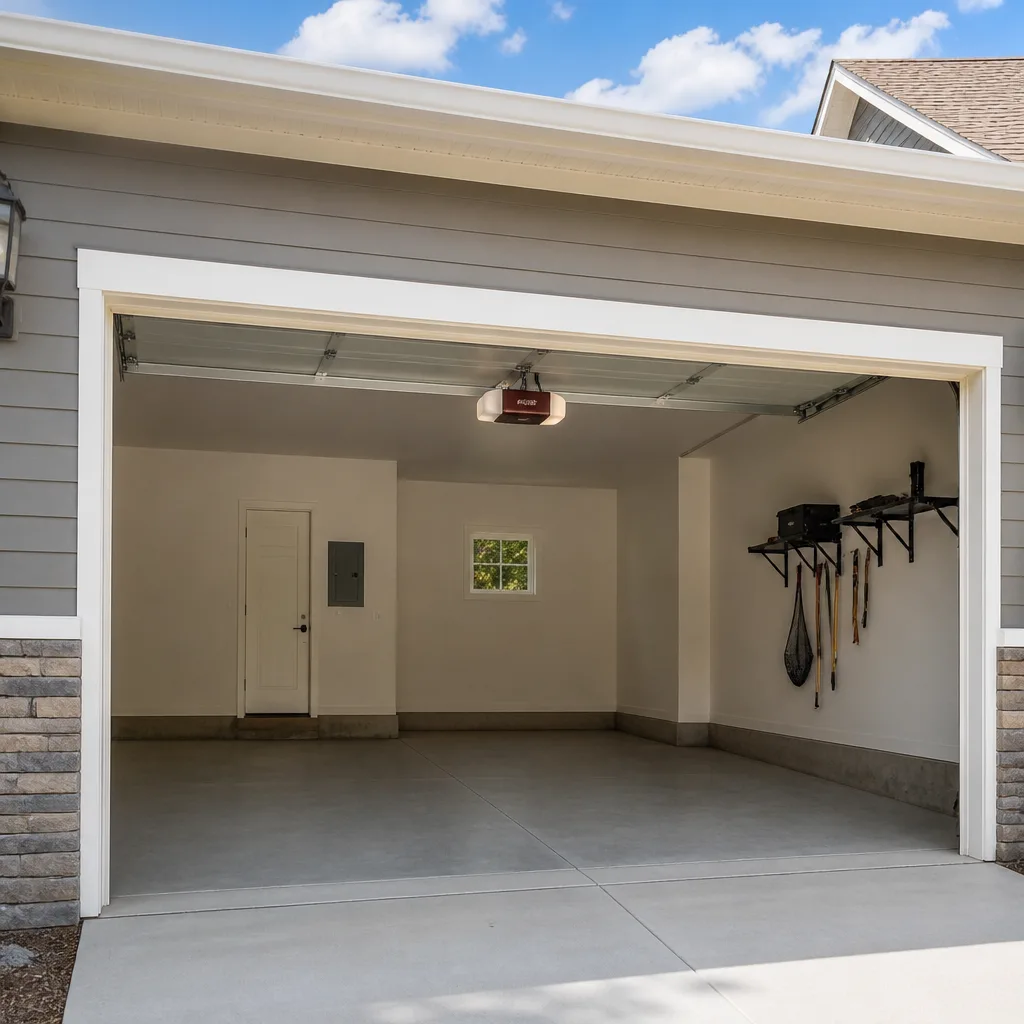 LiftMaster openers
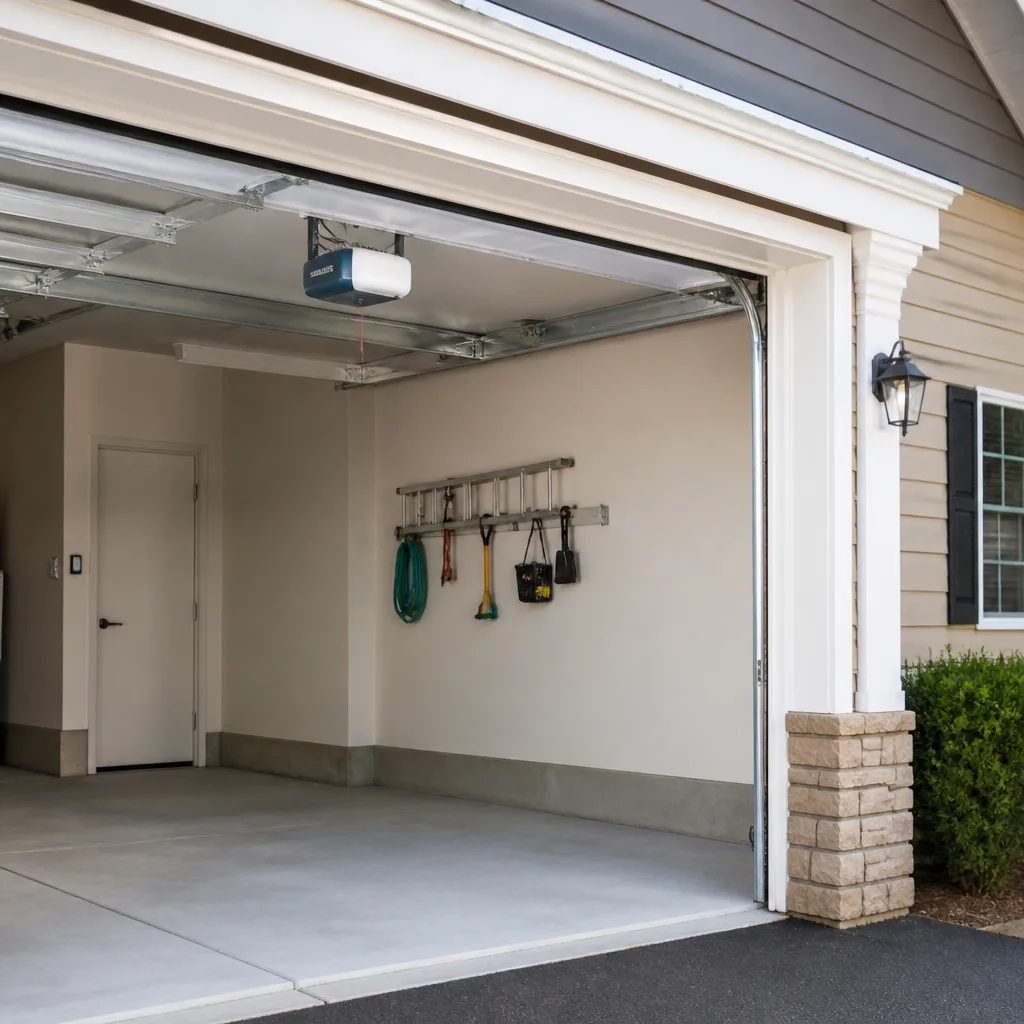 Chamberlain openers
Full 25-point door and opener safety check with every visit - springs, cables, rollers, tracks, and your LiftMaster or Chamberlain opener included
You get a price before we start. It does not change when the pro arrives.
Get your free estimateGarage Door Repair Maintenance Checklist for Woodside Homeowners
Most garage door maintenance advice floating around the internet was written for a suburban driveway with a hundred feet of lawn buffering it from the street. Woodside doesn’t work that way. Homes here sit close to the sidewalk, close to the curb, close to traffic that never really stops. That proximity changes which parts of your door fail first and in what order. The number one repair call we get in dense Queens neighborhoods usually isn’t a snapped spring. It’s a corroded bottom bracket, chewed up by winter road salt thrown off the street by passing tires and left to sit against wet metal for months. That failure point barely appears in national maintenance guides. This checklist fixes that. You’ll learn what to check monthly, seasonally, and yearly, which sounds mean stop-and-call, and the two tasks whose absence can quietly void your warranty.
Quick Answer
A realistic garage door maintenance routine for Woodside means a 10-minute visual check every month, a deeper 30-minute seasonal inspection of seals and hardware, and one annual pass through springs, cables, and the opener’s force settings. The parts that fail fastest here are the bottom seal, bottom brackets, and torsion bar, because road salt and humid summers attack them together. Force-setting checks and balance tests are the two easy checks that prevent the most expensive repairs.
Styles & brands we work with
- Raised-panel steel
- Carriage house
- Modern flush
- Full-view glass
- LiftMaster openers
- Chamberlain openers
Table of Contents
- Why Woodside Doors Wear Differently
- The Monthly Checklist (10 Minutes)
- The Seasonal Checklist (30 Minutes)
- The Annual Checklist (60 Minutes)
- How to Test Your Opener’s Force Settings
- What to Listen For During a Manual Test
- The Two Tasks That Protect Your Warranty
- Common Mistakes to Avoid
- When to Call a Professional
Why Woodside Doors Wear Differently
Woodside sits in a pocket of Queens where single-family homes, low-rise apartment buildings, and busy commercial strips all share the same few blocks. That mix creates a specific wear pattern. Doors facing the street absorb constant road spray in winter. When the temperature drops and the salt trucks come through, the bottom two feet of your door becomes a target. Salt dries onto metal, holds moisture against it, and by spring the bottom bracket and the bottom of the torsion bar often show rust that wasn’t there in November.
Add humid summers to that picture. Woodside’s summer air holds moisture, and a garage that isn’t well ventilated traps it. Steel panels sweat. Wood panels (still common on older homes here) swell at the edges. Seals stiffen, crack, and stop doing their job.
And then there’s vibration. Doors that face a street with steady traffic, especially where the road surface is uneven or where trucks and buses pass regularly, take a constant low-level shake. Over months that vibration works loose the bolts on hinges, the bracket that holds the bottom roller, and the fasteners on the track. A door that feels solid in a quiet cul-de-sac feels different on a Woodside side street. Most national maintenance checklists ignore this completely, which is why we built ours around it.
None of this means your door is doomed. It means the checklist has to be ordered correctly: salt-vulnerable parts first, vibration-vulnerable parts second, everything else after.
The Monthly Checklist (10 Minutes)
Ten minutes once a month is enough to catch most problems while they’re still cheap to fix. You don’t need tools, just your eyes and hands.
- Look at the bottom seal and bracket. Crouch down and inspect where the door meets the ground. Look for crusty white or orange deposits (that’s salt residue), cracked rubber, or flaking paint. Wipe the bracket dry if it’s wet.
- Run your hand along the bottom edge of each panel. Feel for soft spots, bubbling paint, or rough texture. Those mean moisture has gotten under the finish.
- Open and close the door once and watch the tracks. Look for visible gaps where the roller sits inside the track, or any spot where the track looks bent or pushed out.
- Test the safety reverse. Place a roll of paper towels or a piece of scrap wood flat on the ground under the door, close it, and confirm the door reverses on contact.
- Check the photo-eye sensors. Wave your hand between the two sensors at the bottom of the track. If the door doesn’t reverse, something is blocking them or they’ve drifted.
- Listen for changes. Note anything that sounds different from last month. A new squeak, a rattle, or a grinding noise is worth remembering.
That’s it. Ten minutes, once a month. If something looks wrong, note it and address it at the next seasonal check rather than waiting for a failure.
The Seasonal Checklist (30 Minutes)
Twice a year, ideally in late fall before the first salt hits the road and again in late spring after it’s washed away, spend half an hour on a deeper pass. This is where Woodside-specific wear gets managed.
- Clean the bottom bracket and torsion bar ends. A damp rag and a light brush remove salt residue before it eats in. Don’t soak the area; just clean and dry it.
- Check the bottom seal for flexibility. Press it with your thumb. If it feels hard or cracks instead of flexing, it needs replacing. A stiff seal lets water and salt in behind the door.
- Inspect hinges and rollers. Look for loose bolts, cracked hinges, or rollers that wobble. Vibration from street traffic loosens these faster than most homeowners expect.
- Lubricate moving parts. A garage door lubricant (not WD-40, which is a solvent, not a lubricant) on hinges, rollers, and the torsion springs. Ask for door-specific lube.
- Check the balance. Disconnect the opener (pull the release cord) and lift the door halfway by hand. Let go. A balanced door stays where you left it. A door that drops or flies up is out of balance and needs adjustment.
- Look at the weather seal around the frame (the trim on the sides and top, not the bottom seal). Split or missing strips let water in around the edges.
If you find rust creeping onto the torsion bar during the spring check, write it down. It’s usually a cleaning-and-paint job, but it’s a sign the whole bottom assembly needs attention at the next visit.
The Annual Checklist (60 Minutes)
Once a year, plan an hour for a full-system review. This is where you catch the slow stuff before it becomes a repair bill.
- Test the opener’s force settings (see the next section for how). This is the single most important annual check.
- Run a full manual operation test with the opener disconnected. Open and close by hand, listening carefully. Note anything new.
- Inspect the springs. Look at the coils of a torsion spring (the one on the shaft above the door) or the extension springs (if you have two springs running along the top tracks). Check for gaps, rust, or a visible gap in the coil. Do not touch or try to adjust them.
- Look at the cables. The thin steel cables on each side should be tight and free of fraying or kinks. If you see a frayed strand, stop and call.
- Check the opener’s hardware. If your unit is a LiftMaster or a Craftsman, look at the rail and the trolley for wear. A Genie or Chamberlain unit may have a different belt or chain setup; inspect the belt or chain tension.
- Test the manual release one last time. Pull it and re-engage it several times to make sure it operates cleanly.
- Write down what you found. This brings us to the warranty section below.
An annual review is best done before summer heat or winter salt. Pick one and stick to it.
How to Test Your Opener’s Force Settings
Your opener has two force settings: one for closing and one for opening. They control how hard the motor pushes when it meets resistance. When they’re set too high, the door won’t reverse on a person, a pet, or an object. When they’re set too low, the door stops halfway and reverses randomly. Either way, this is a check worth doing once a year.
Here’s the safe way to test without touching the force dials themselves:
- Place a flat object (a 2×4 scrap or a full roll of paper towels) directly under the middle of the door.
- Press the close button and watch what happens.
- The door should contact the object and reverse within a second or two.
- If it keeps pushing, or if it reverses only after significant pressure, the closing force is set too high.
- Repeat with the safety sensors: wave your hand between them. The door should reverse.
If either test fails, don’t adjust the force dial yourself unless you’re comfortable doing so. Modern openers from LiftMaster and Chamberlain have adjustment screws or digital menus that are easy to get wrong, and older Craftsman and Genie units vary. Call us for a fast check; adjusting force settings takes minutes.
Why this matters: a door with force settings that are too high is the single most common cause of the expensive repair we see. It doesn’t protect the door; it lets the motor override a jam and bend the panel, crack the bracket, or wear out the opener’s gear. A ten-minute force check prevents most of that.
What to Listen For During a Manual Test
Sounds tell you what you can’t see. Here’s the plain-language translation of what you’ll hear during a manual test with the opener disconnected.
- A steady, low whoosh or hum. Normal. Means rollers and tracks are aligned.
- A rhythmic squeak or squeal. Normal wear on rollers or hinges; needs lubrication and possibly new rollers.
- A sharp pop or snap as the door moves. A roller has jumped the track or a hinge is loose. Stop and look before continuing.
- A grinding noise from the opener rail (with the opener connected, not disconnected). Likely the gear or belt; call for a check.
- A metallic clank or bang when the door hits the top or bottom. The door is out of balance or a spring is failing. Stop the test and call.
- A rattling that changes with street traffic. Vibration-related looseness. Tighten what you can, and have the rest looked at.
Rule of thumb: if the noise is new, note it. If the noise is accompanied by the door moving unevenly, stop and call. If you hear a snapping sound from the springs, don’t touch anything. Springs are under extreme tension and are dangerous to handle.
The Two Tasks That Protect Your Warranty
Manufacturers care about two things when they decide whether to honor a warranty claim: proper installation and evidence of routine maintenance. Skip the two tasks below, and you can find yourself arguing with a warranty department over a failed part. Do them, and you have documentation.
Task one: annual balance and force testing. Most door manufacturer warranties, and most opener warranties from LiftMaster, Chamberlain, Genie, and others, are voided if the door is found to have been operated out of balance or with improper force settings for an extended period. A door that’s been dragging against the track for months didn’t fail because of a defect; it failed because the balance was off. Note the date you ran the test and what you found.
Task two: annual lubrication of moving parts. Hinges, rollers, springs, and the opener chain or belt all require lubrication. The warranty terms vary, but skipping lubrication is a documented reason for denial of wear-related claims, especially on the torsion bar and springs.
How to document both: keep a simple log (a note on your phone is fine) with the date, the test, and what you found. If a claim ever comes up, a record of annual checks makes it much harder for anyone to argue the door was neglected. And if you have a full-service repair record from a professional, that’s even stronger. When you’re ready for that annual professional inspection, our garage door repair visit includes a printed summary you can keep with your warranty paperwork.
Common Mistakes to Avoid
- Ignoring the bottom bracket in winter. It’s the first thing to corrode in Woodside and the last thing most people check. Salt sits on it for months.
- Using WD-40 as a lubricant. It’s a water displacer, not a lubricant. It also attracts dust, which turns into grinding paste on rollers and hinges.
- Skipping the balance test because the opener “seems to work fine.” A failing balance is hidden by the motor’s power. By the time you notice, the force settings have already done damage.
- Tightening every bolt you see. Over-torquing brackets on Woodside’s vibration-prone doors strips the threads and creates bigger cracks.
- Replacing one spring when both are the same age. Springs wear at the same rate. Replacing one usually means the other fails weeks later, and you pay for two visits instead of one.
- Doing a “quick fix” on a torsion spring yourself. Springs are under hundreds of pounds of tension. This is the one section of every checklist that should end in a phone call, not a YouTube tutorial.
- Waiting for a failure to do maintenance. A door that’s never checked is a door that fails on a Sunday morning when you need to be somewhere.
When to Call a Professional
Most maintenance is safe and cheap to do yourself. Some of it isn’t. This is the list of things you should stop doing and call about instead:
- A snapped spring (torsion or extension) or a visible gap in the coil
- Anything that touches the cables, brackets, or torsion bar
- The door reverses only sometimes, or the opener skips cycles
- A loud crack or bang followed by the door not opening
- A photo-eye sensor that won’t stay aligned
- Rust that has visibly weakened the bottom bracket or torsion bar
- Any door that feels or sounds different from the week before
These are the jobs where a trained hand matters. Our spring work is a dedicated specialty because it’s one of the more dangerous parts of the trade. We work on all eight major brands, including Amarr, Wayne Dalton, Craftsman, and Raynor systems, so a maintenance visit can include an inspection of your specific opener. If you’d rather have it done, Garage Door Repair Woodside offers free estimates in Woodside. Call (855) 532-1370. We answer 24/7, and fast dispatch runs from 7am to 7pm, Sunday through Friday.
See the difference
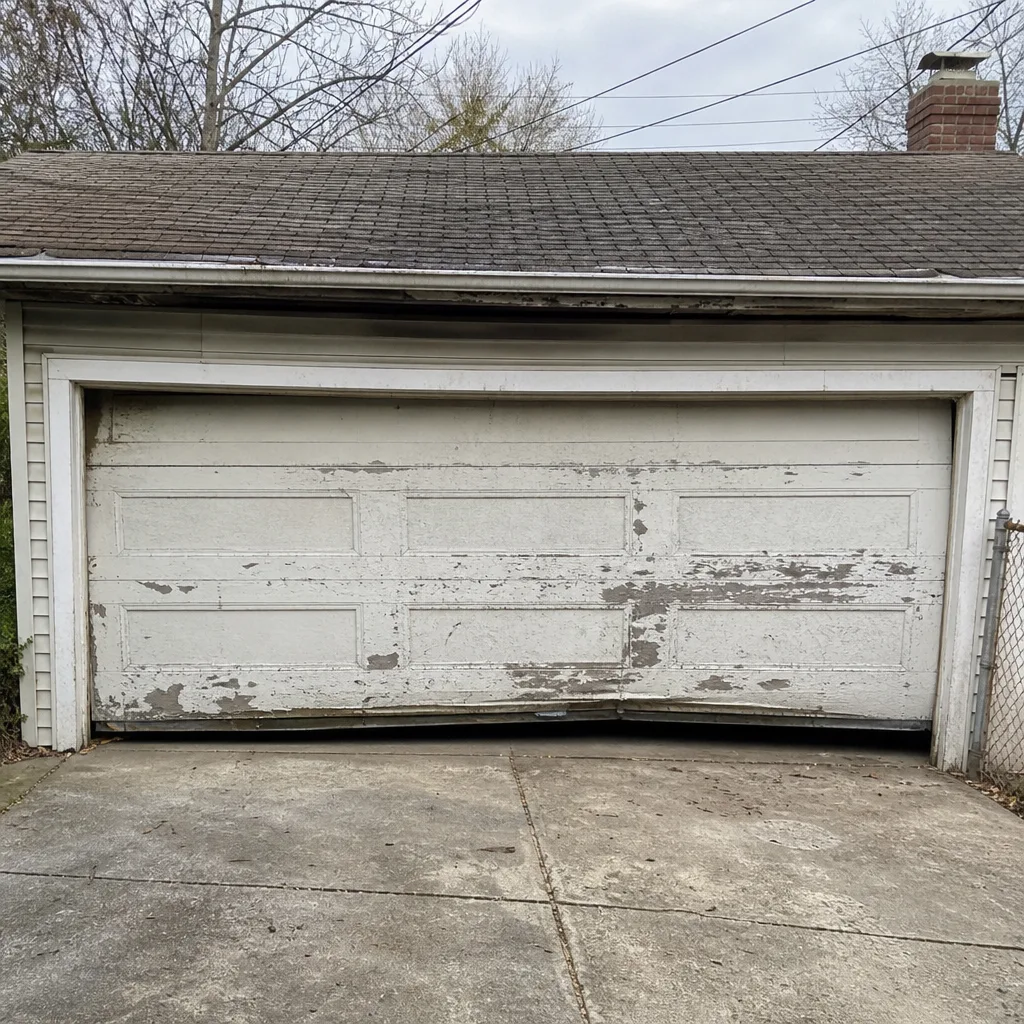 Before
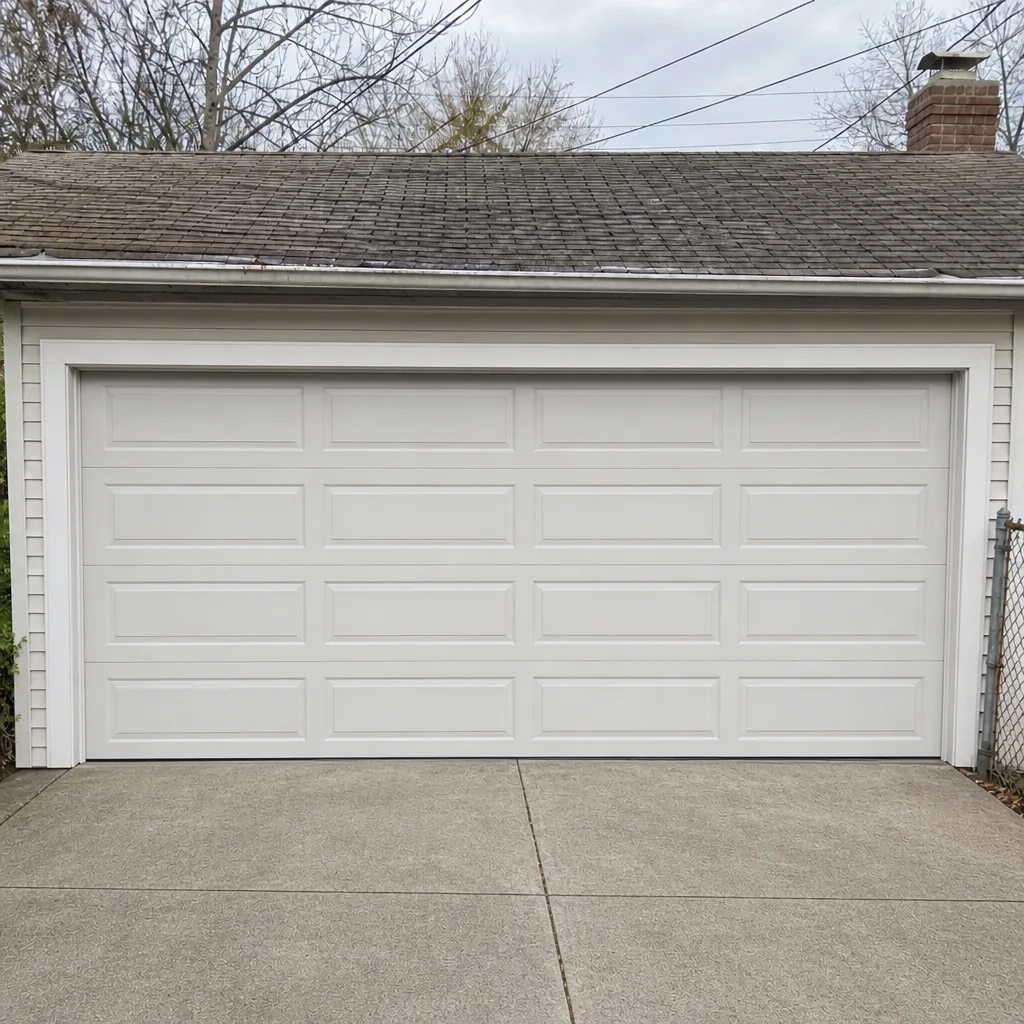 After
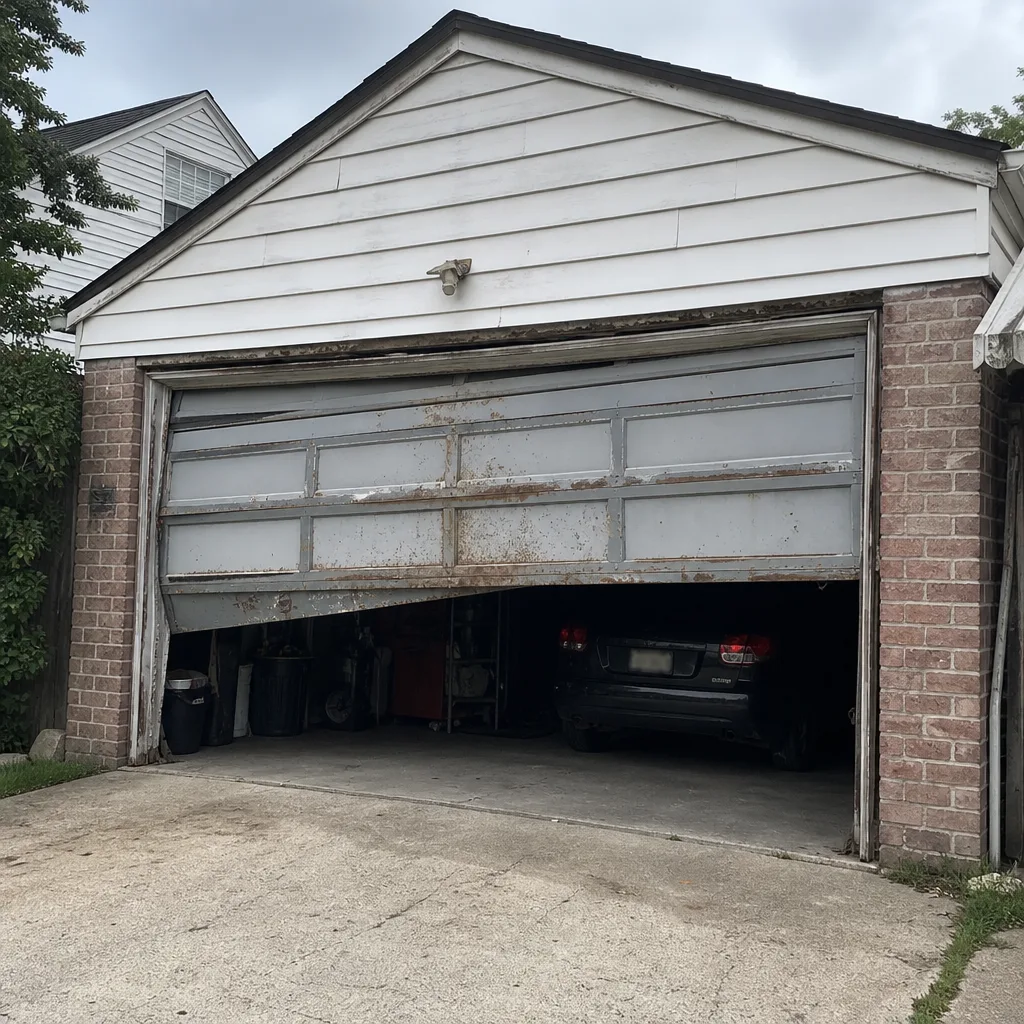 Before
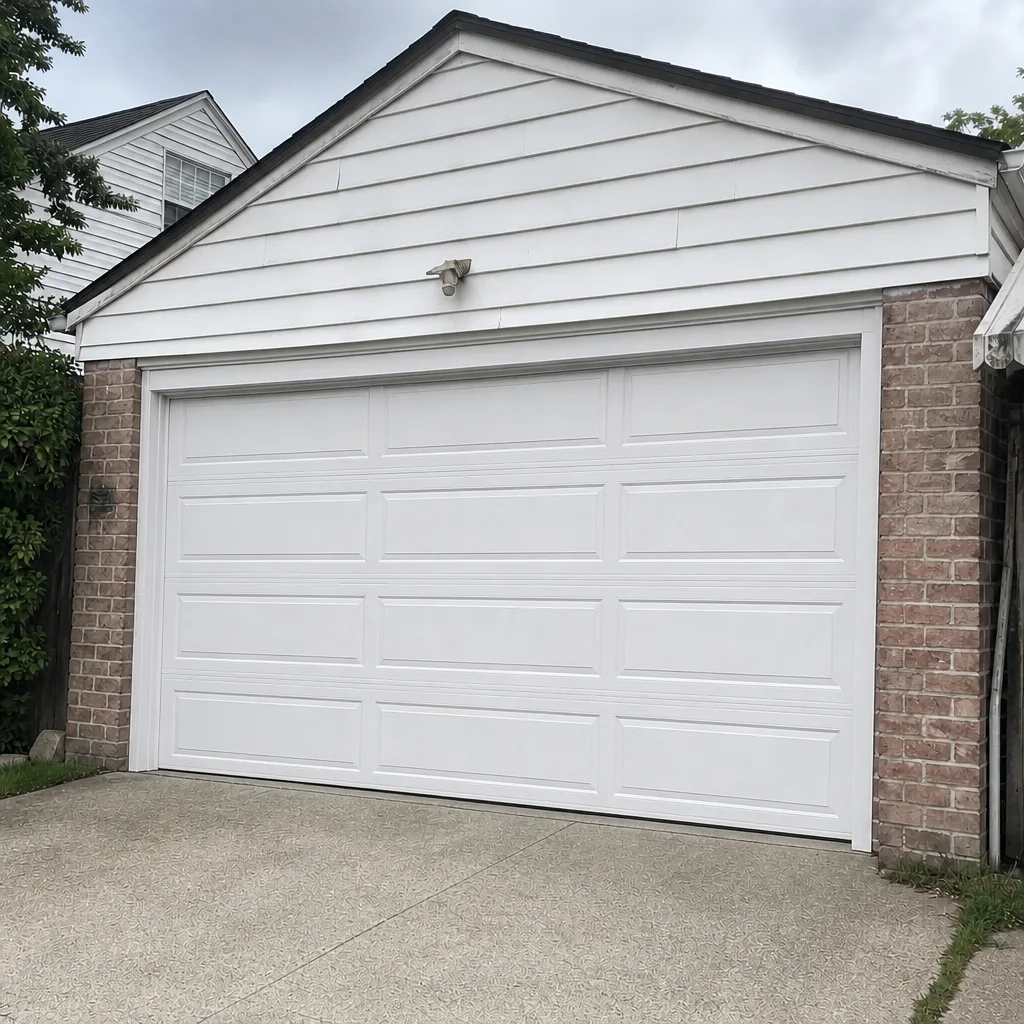 After
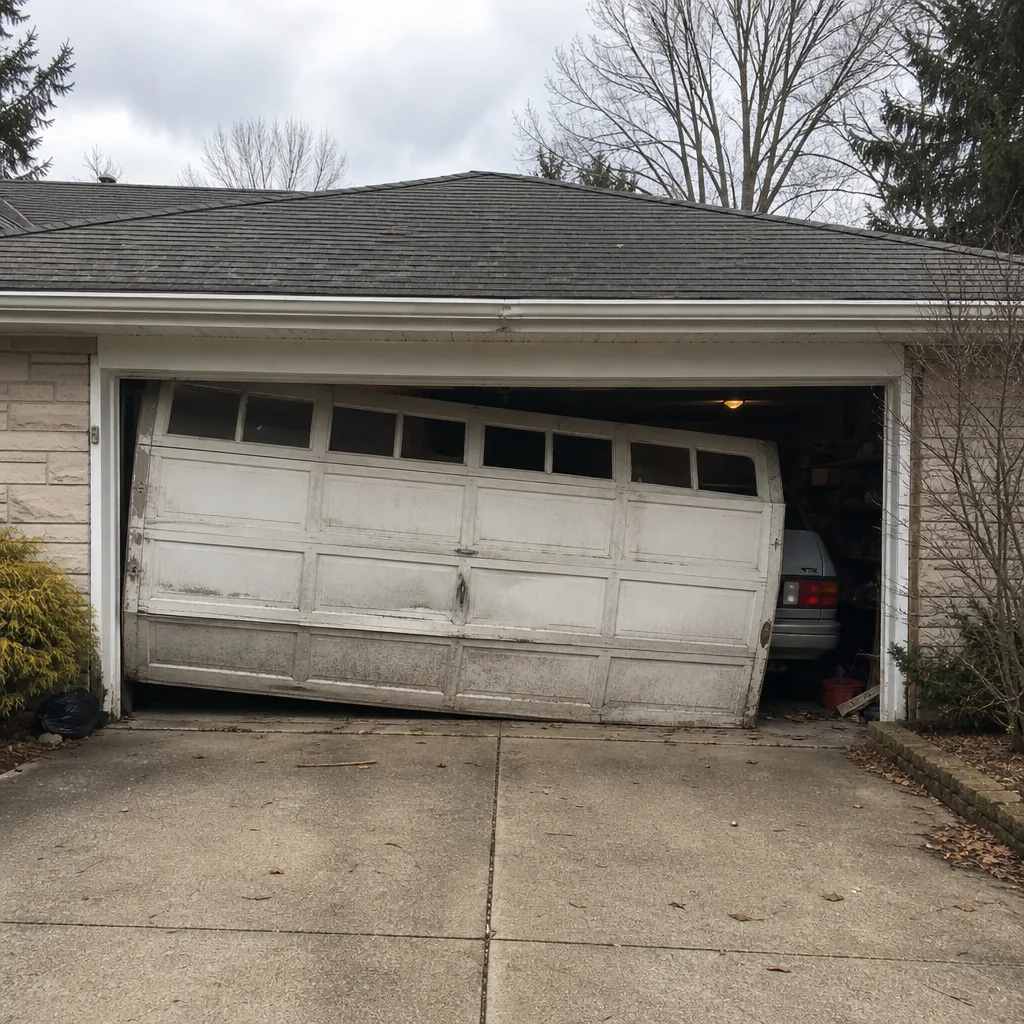 Before
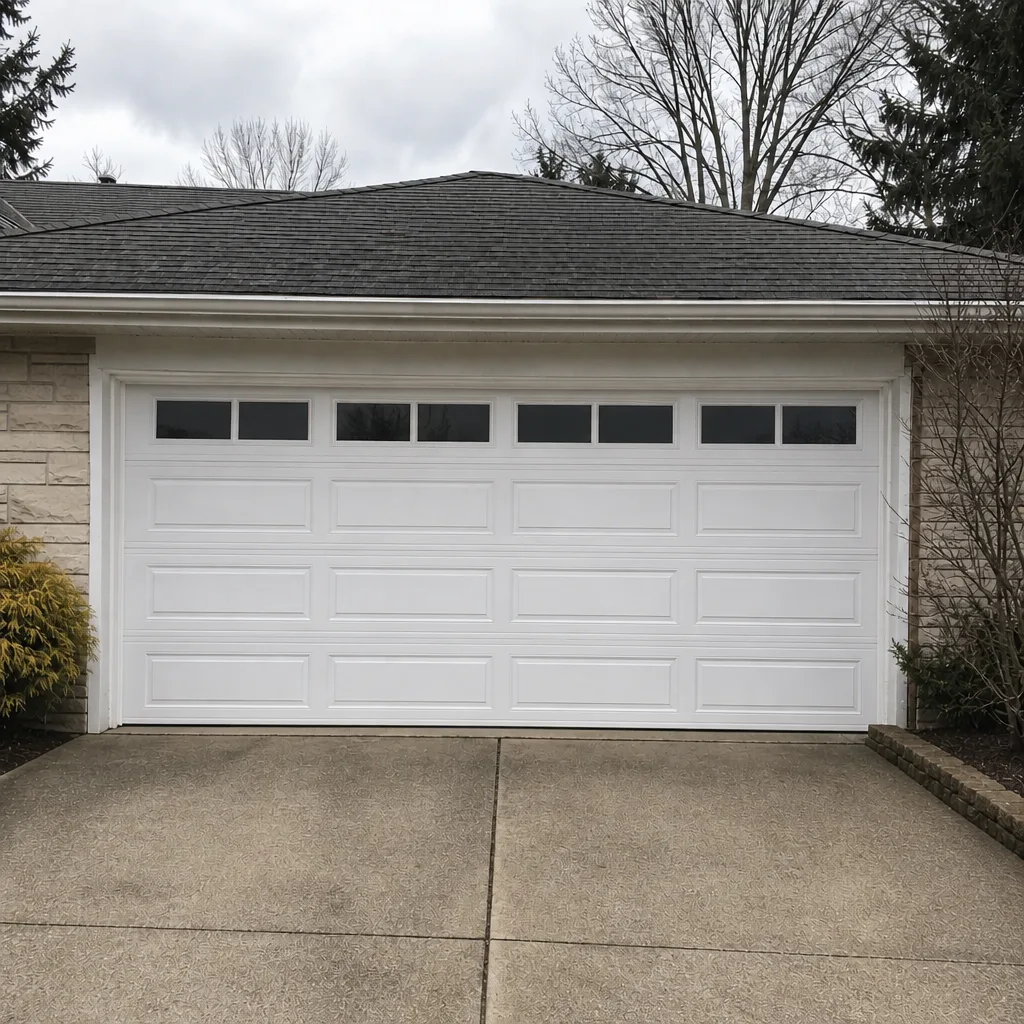 After
Frequently Asked Questions
Once a year, ideally before winter salt season. A professional garage door repair visit catches the parts that fail fast in Woodside, like the bottom bracket, and confirms the opener’s force settings are safe. If your door is older or heavily used, twice a year is better.
Call (855) 532-1370 if you’d like to schedule one; estimates are free.
A door that suddenly feels heavy to lift, or a door that slams instead of lowering smoothly, is showing signs of a weakening spring. A visible gap of an inch or more in the coil is almost always a warning. Don’t test a torsion spring by hand; call us and we’ll take a look.
Yes. Hinges, rollers, and the torsion springs can be lubricated with a garage door-specific lubricant once or twice a year. That’s safe and easy. What you shouldn’t lubricate is the tracks themselves; lube there collects dust and creates a grinding paste. Call (855) 532-1370 with your opener brand and we’ll tell you what your specific system needs.
Nine times out of ten it’s the safety sensors, not the opener. A sensor that’s misaligned or blocked by dust, cobwebs, or a leaf will reverse the door every time. Clean the lenses and check the alignment with a straight edge. If that doesn’t fix it, the force settings may need adjustment, which is worth a professional check.
No. Grinding almost always means a gear, bearing, or roller is failing. Continuing to use the door accelerates the damage, and it can completely stop mid-use. Stop using it and call us; the fix is usually quick if it’s caught early. Call (855) 532-1370 and we’ll get a technician out fast. We answer 24/7.
Torsion springs, extension springs, and cables. Any of those under tension can cause serious injury, so leave them to a trained technician. If you ever see a frayed cable or a broken spring, stay clear and call us at (855) 532-1370. We’ll handle the dangerous parts safely.
The Bottom Line
A Woodside garage door doesn’t need a complicated maintenance routine. It needs the right one, in the right order. Check the bottom seal and bracket monthly because salt hits first. Run a seasonal pass on hinges, rollers, and weather stripping because vibration loosens them faster here than in the suburbs. Do a full annual check of springs, cables, and force settings because that’s the check that prevents the expensive repairs. Document what you find, especially the balance test and lubrication, so a warranty claim never becomes an argument. Your garage door opener repair or full garage door repair visit covers the parts you shouldn’t touch, and professional maintenance handles the rest. When you’re ready, call (855) 532-1370 for a free estimate. We answer 24/7, and fast dispatch runs from 7am to 7pm, Sunday through Friday.
Related Pages
For a full look at the services behind this checklist, see our Garage Door Repair Woodside page. If you’re upgrading your door or your opener, our garage door installation guide walks through what a new system involves.
Written by the team at Garage Door Repair Woodside.